Posted by Shakedown Street on May 1st 2024
The Art of Rolling: A Beginner's Guide to Rolling a Joint
Rolling a joint is a rite of passage for many cannabis enthusiasts, but for beginners, it can seem like a daunting task. But with a little practice and guidance, anyone can learn to roll a perfect joint, take it from us! That's why we put together this step by step guide to help you roll a joint like a pro.

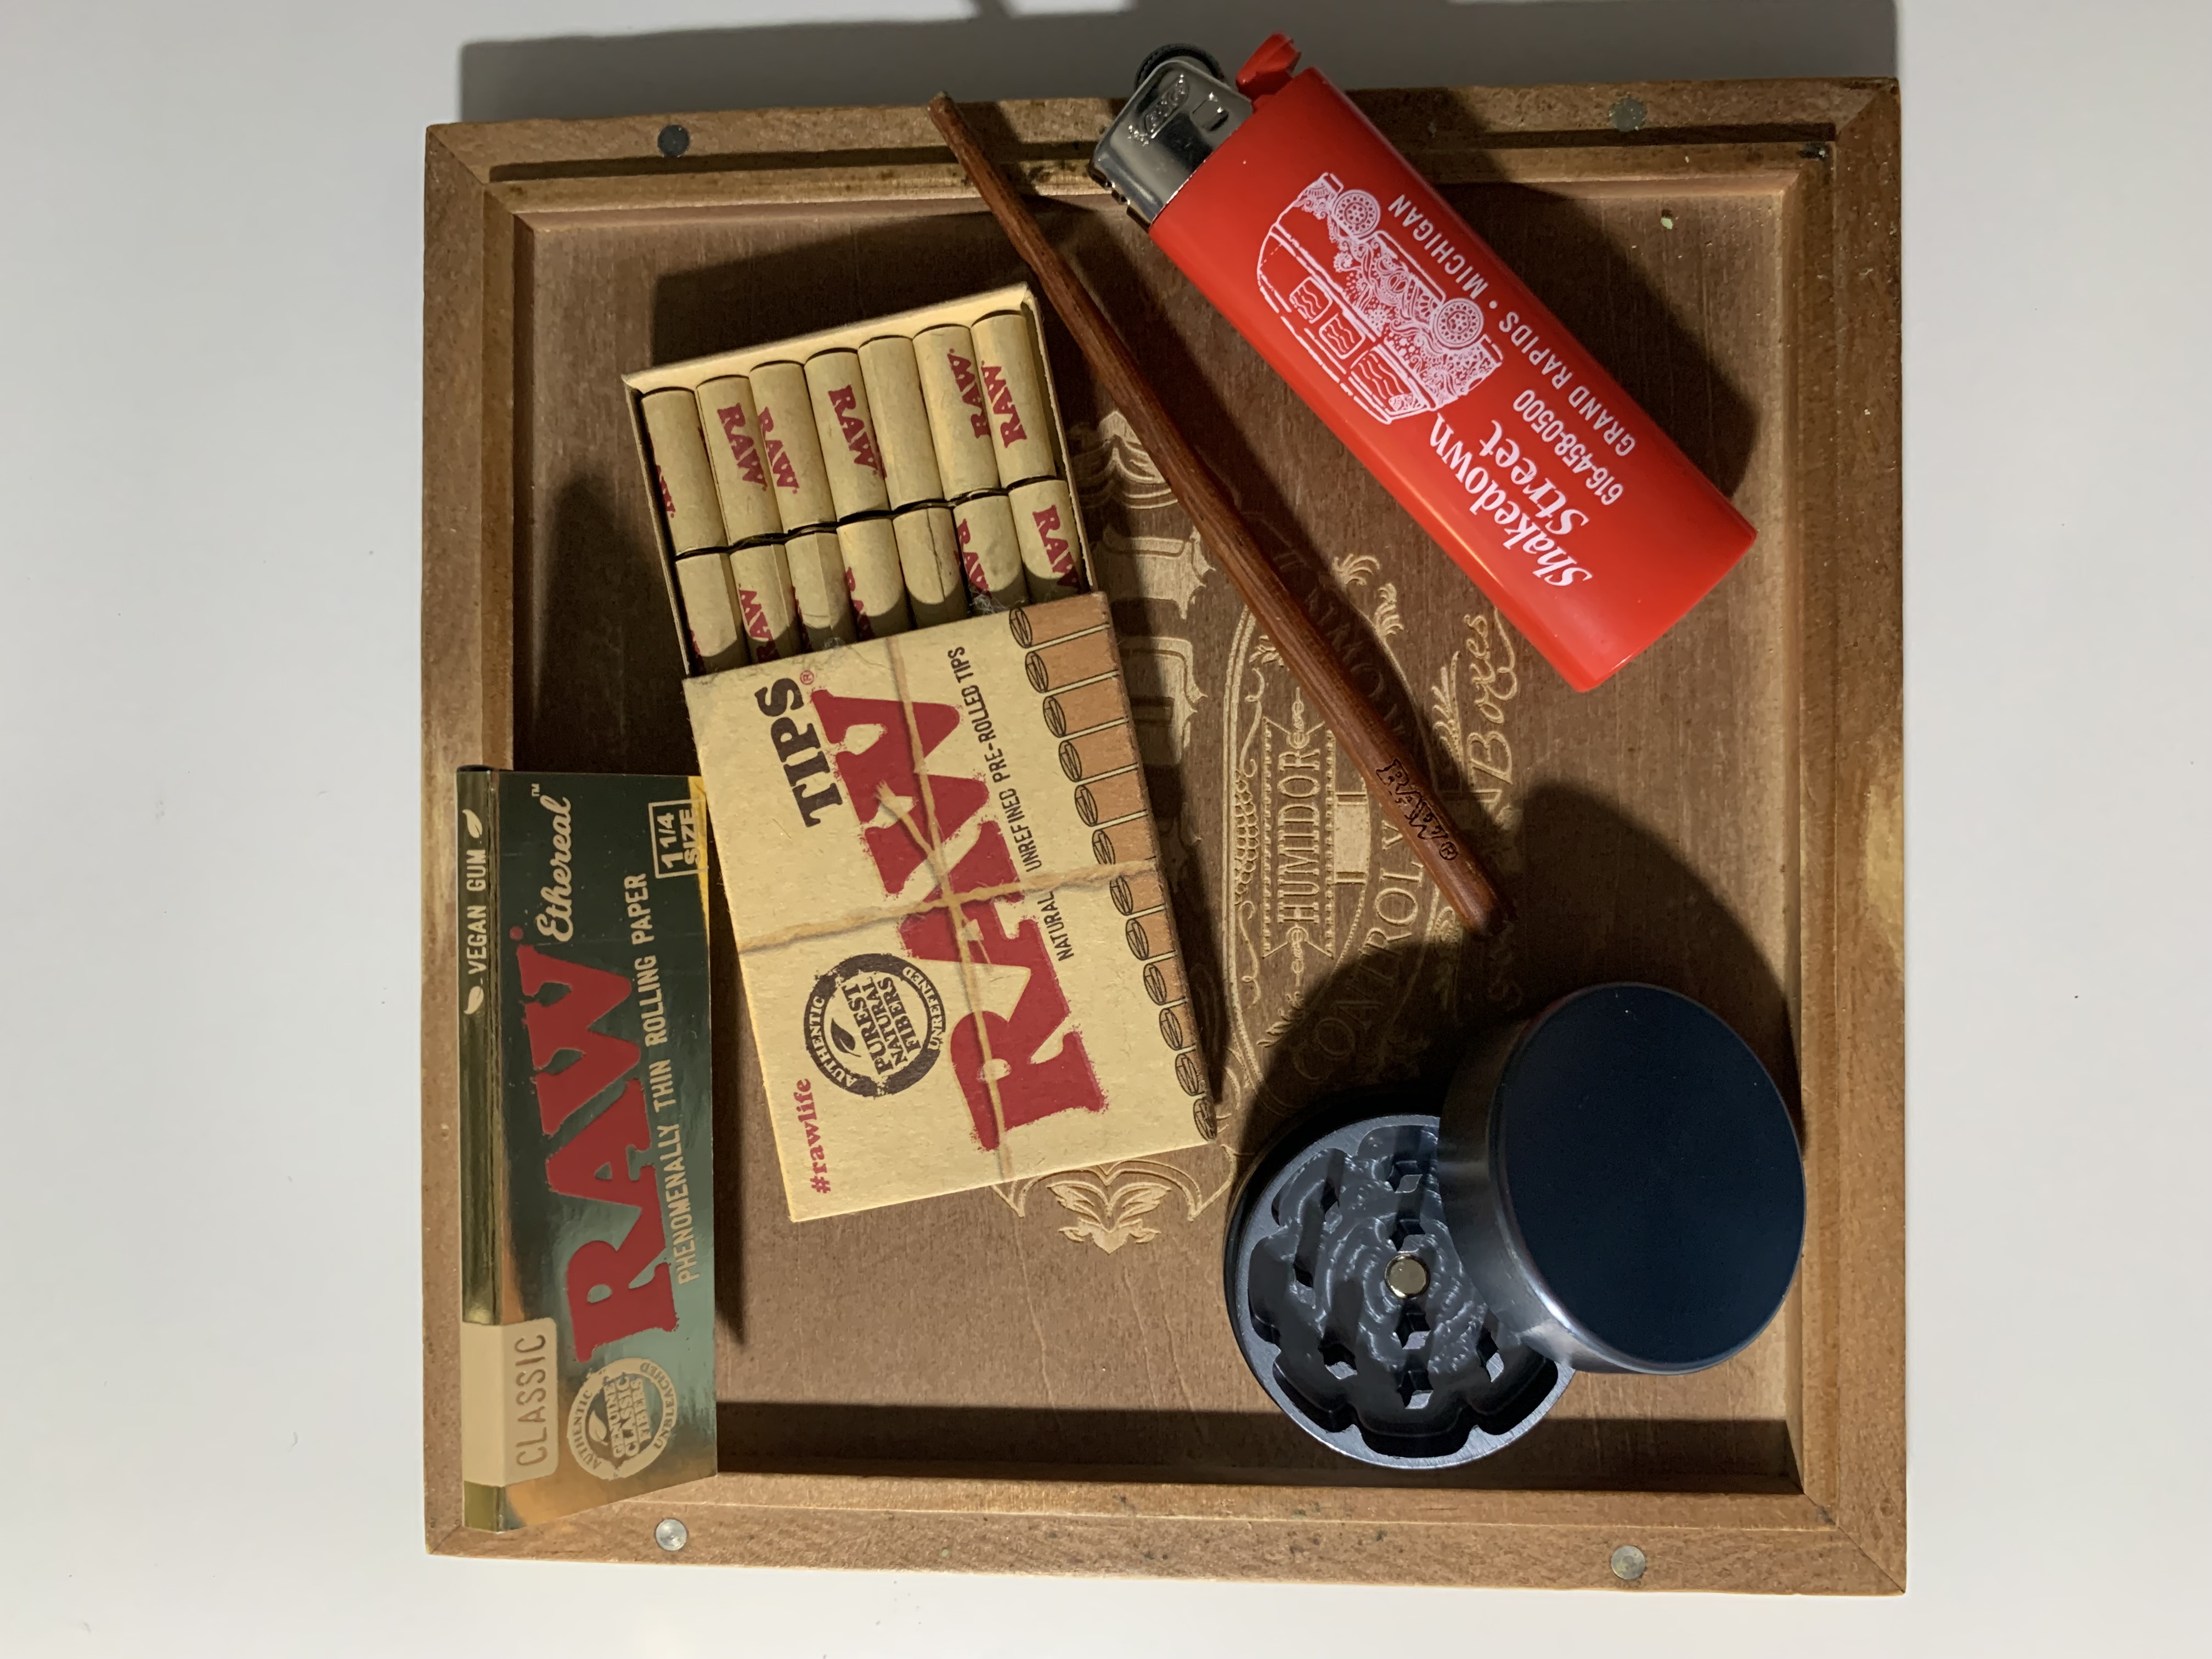
What Do You Need To Roll A Joint?
- Cannabis flower
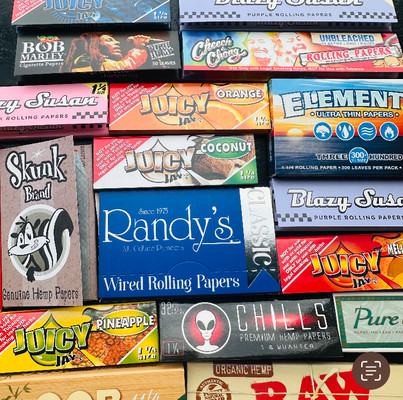
- Rolling papers
- Filters / tips
- Grinder (recommended for an even burn)
- Lighter or matches
Step 1: Prepare Your Cannabis
Start by breaking down your cannabis flower into smaller, more manageable pieces. If you have a grinder, you can use it to grind the flower into a fine consistency. However, if you don't have a grinder, you can break up the flower using your fingers or a pair of sharp scissors.
Step 2: Prepare Your Rolling Paper
Hold the rolling paper between your fingers with the adhesive strip facing upward (glue towards you). If you're using a filter tip, place it at one end of the rolling paper, leaving a little space between the tip and the edge.
Some people also like to add the tip to their roll last. This comes down to preference.
Step 3: Fill the Joint
Sprinkle your ground cannabis evenly along the length of the rolling paper. Be mindful not to overfill the joint, as this can make it difficult to roll and may result in uneven burning.
Step 4: Shape the Joint
With your thumbs and index fingers, gently roll the rolling paper back and forth between them to shape the cannabis into a cylinder. Use your thumbs or nails to tuck the edge of the rolling paper under the cannabis, forming a cylinder shape.
Step 5: Roll the Joint
Once the rolling paper is tucked under the cannabis, continue rolling it between your fingers, using your thumbs to guide the paper. Be patient and take your time to ensure a tight, even roll.
Step 6: Seal the Joint
Lick the adhesive strip of the rolling paper and continue rolling until the joint is fully sealed. Use your fingers to smooth out any wrinkles or creases in the paper.
Step 7: Pack the Joint
With the sealed end facing downward, gently tap the unsealed end of the joint against a flat surface to pack the cannabis down evenly. Be careful not to pack it too tightly, as this can restrict airflow.
Some rollers use small sticks to poke down the ground material allowing for a smoother, slower burn.
Step 8: Twist the Tip
If you're using a filter tip, twist the end of the joint to secure it in place. This will help prevent any cannabis from falling out while you're smoking.
Step 9: Light It Up
Once your joint is rolled and packed, it's time to light up and enjoy. Hold the joint between your fingers, light the tip, and take slow, steady puffs to savor the flavor and effects of your carefully crafted creation.
Rolling a joint takes practice, so don't be discouraged if your first few attempts aren't perfect. With time and experience, your rolling skills will get better and you will be able to roll joints with ease. So grab your favorite strain, some rolling papers, and get ready to roll like a pro!

